

How to make a shell bracelet?
Jul 22, 2025
Leave a message
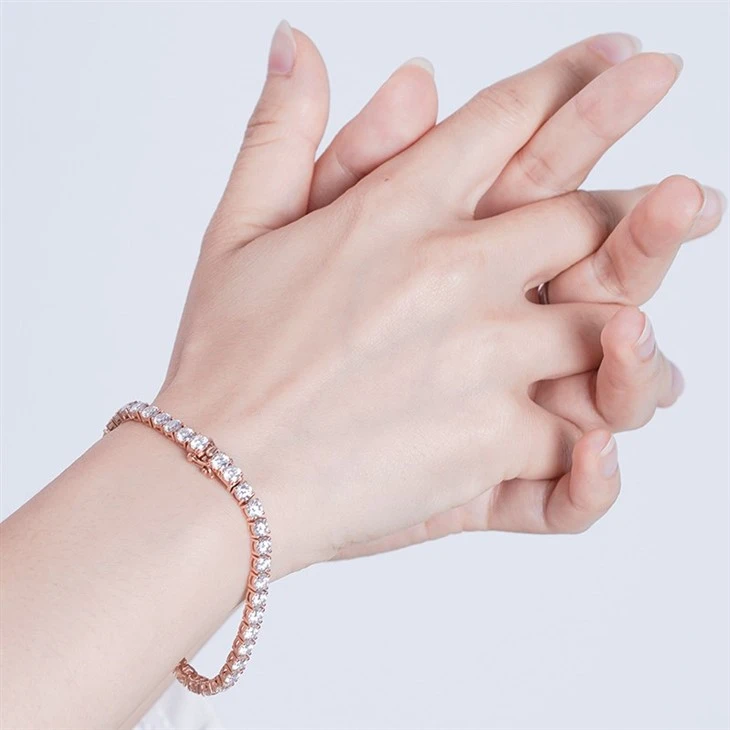
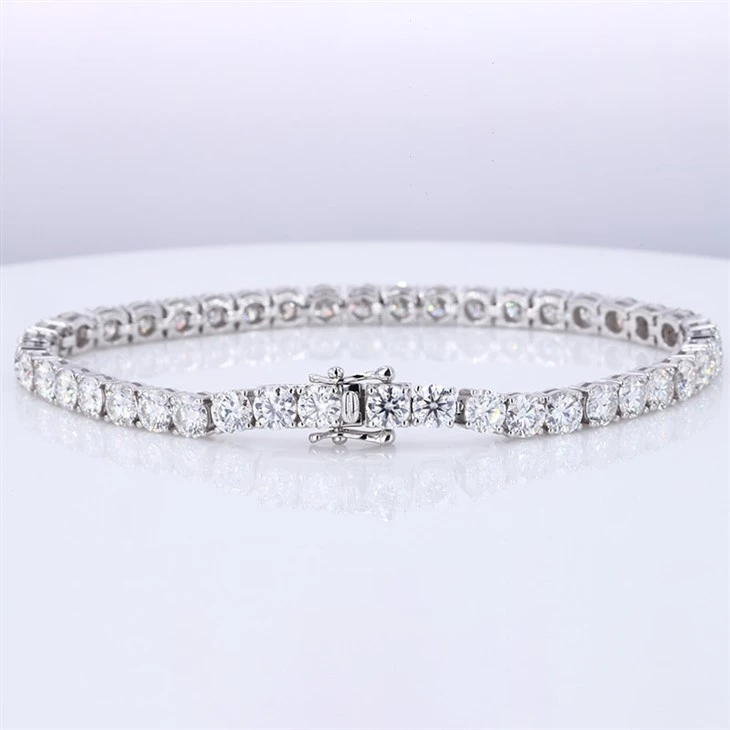
Hey there! If you're into DIY crafts or just love accessorizing with unique jewelry, making a shell bracelet can be a super fun and rewarding project. As a bracelet supplier, I've seen all kinds of bracelets, from fancy 14k Gold Moissanite Diamond Tennis Bracelet to High Quality 3mm 4mm 5mm DEF Moissanite Tennis Bracelet and Silver Chain Moissanite Cuban Bracelet. But there's something special about a handmade shell bracelet that brings a touch of the beach right to your wrist.
Gathering Your Materials
First things first, you'll need to gather all the materials you'll need for this project. Here's a list of what you'll typically need:
- Shells: You can find shells at the beach, craft stores, or online. Look for a variety of shapes, sizes, and colors to add some visual interest to your bracelet.
- Elastic Cord: This is what will hold your shells together. You can find elastic cord at craft stores in different thicknesses. Choose a thickness that's appropriate for the size of your shells.
- Scissors: You'll need a good pair of scissors to cut the elastic cord.
- Beads (Optional): If you want to add some extra bling to your bracelet, you can include some beads. You can choose beads that complement the color of your shells.
Preparing Your Shells
Once you have all your materials, it's time to prepare your shells. If you've collected shells from the beach, you'll need to clean them first. Here's how you can do it:
- Soak the Shells: Fill a bowl with warm water and a little bit of mild dish soap. Soak the shells in the soapy water for about 15 - 20 minutes. This will help loosen any dirt or debris on the shells.
- Scrub the Shells: After soaking, use a soft brush (like an old toothbrush) to gently scrub the shells. Make sure to get into all the crevices and clean them thoroughly.
- Rinse and Dry: Rinse the shells under running water to remove any soap residue. Then, pat them dry with a clean towel and let them air dry completely.
Measuring and Cutting the Elastic Cord
Now that your shells are clean and dry, it's time to measure and cut the elastic cord. Here's how:
- Measure Your Wrist: Wrap the elastic cord around your wrist where you want to wear the bracelet. Leave a little extra length (about 1 - 2 inches) to tie the ends together later.
- Cut the Cord: Use your scissors to cut the elastic cord at the measured length.
Stringing the Shells
This is the fun part! Now you get to start stringing your shells onto the elastic cord. Here's how:
- Thread the First Shell: Take one end of the elastic cord and thread it through the hole in one of your shells. Pull the cord through until the shell is about halfway down the cord.
- Add More Shells: Keep adding shells to the cord, alternating the shapes, sizes, and colors. You can also add beads if you're using them. Just make sure to leave enough space between the shells so they don't look too crowded.
- Arrange Your Shells: As you're stringing the shells, take a moment to arrange them in a way that looks pleasing to you. You can create patterns or just go for a more random look.
Tying the Ends
Once you've added all the shells and beads you want, it's time to tie the ends of the elastic cord together. Here's how:
- Tie a Knot: Take the two ends of the elastic cord and tie a double knot right next to the last shell. Make sure the knot is tight so the shells don't come off.
- Trim the Excess Cord: Use your scissors to trim any excess elastic cord, leaving just a little bit of a tail to prevent the knot from coming undone.
Finishing Touches
Your bracelet is almost done! But you can add a few finishing touches to make it look even better.
- Hide the Knot: If you want to hide the knot, you can add a small bead or a charm over the knot. This will give your bracelet a more polished look.
- Check the Fit: Put the bracelet on your wrist and make sure it fits comfortably. If it's too tight or too loose, you can adjust it by either adding or removing a shell or two.
Caring for Your Shell Bracelet
Now that you've made your beautiful shell bracelet, you'll want to take good care of it to make it last. Here are some tips:
- Avoid Water: While shells are naturally from the water, prolonged exposure to water can damage the elastic cord and cause the shells to lose their luster. Try to avoid wearing your bracelet when you're swimming or washing your hands.
- Store Properly: When you're not wearing your bracelet, store it in a cool, dry place. You can put it in a jewelry box or a small pouch to protect it from dust and scratches.
Why Choose a Handmade Shell Bracelet?
There are many reasons why a handmade shell bracelet is a great choice. For one, it's a unique piece of jewelry that you won't find anywhere else. Every shell is different, so your bracelet will be one-of-a-kind. It also makes a great gift for friends and family. You can customize the bracelet with their favorite colors or shells to make it extra special.
And if you're a bracelet supplier like me, you can offer handmade shell bracelets as part of your product line. They're a great addition to any jewelry collection, especially for those who love beach-inspired jewelry.
Connecting with Us
If you're interested in purchasing shell bracelets or other types of bracelets, we'd love to hear from you. Whether you're a retailer looking to stock our products or an individual looking for a unique piece of jewelry, we're here to help. Just reach out to us and let's start a conversation about your bracelet needs.
References
- Crafting magazines
- Online DIY jewelry tutorials